WHERE IN THE IDE
Tape Layout Editor → Build Project → Export TAP / WAV / Project Archive
Before you start
- Save a checkpoint and refresh changed music/graphics/ASM outputs.
- List the machine target, tape blocks and external dependencies.
- Keep a record of your real playthroughs and any untested conditions.
AI advice does not certify a TAP, execute a hardware test or approve artwork licences. The authoritative output is the artifact you build and independently check.
STEP 01
Freeze a candidate you can reproduce
Save the project. Review stale generated music, accepted ASM hashes, source maps and asset changes. Build from the state you intend to distribute. Do not keep editing while claiming to audit an earlier artifact.
STEP 02
Inspect the loader and tape sequence
Open Tape Layout Editor. Match each LOAD to a block of the expected type and address. For 128K banks, review paging and load order explicitly. A screenshot in the graphic editor or a music preview does not prove either resource is in this tape.
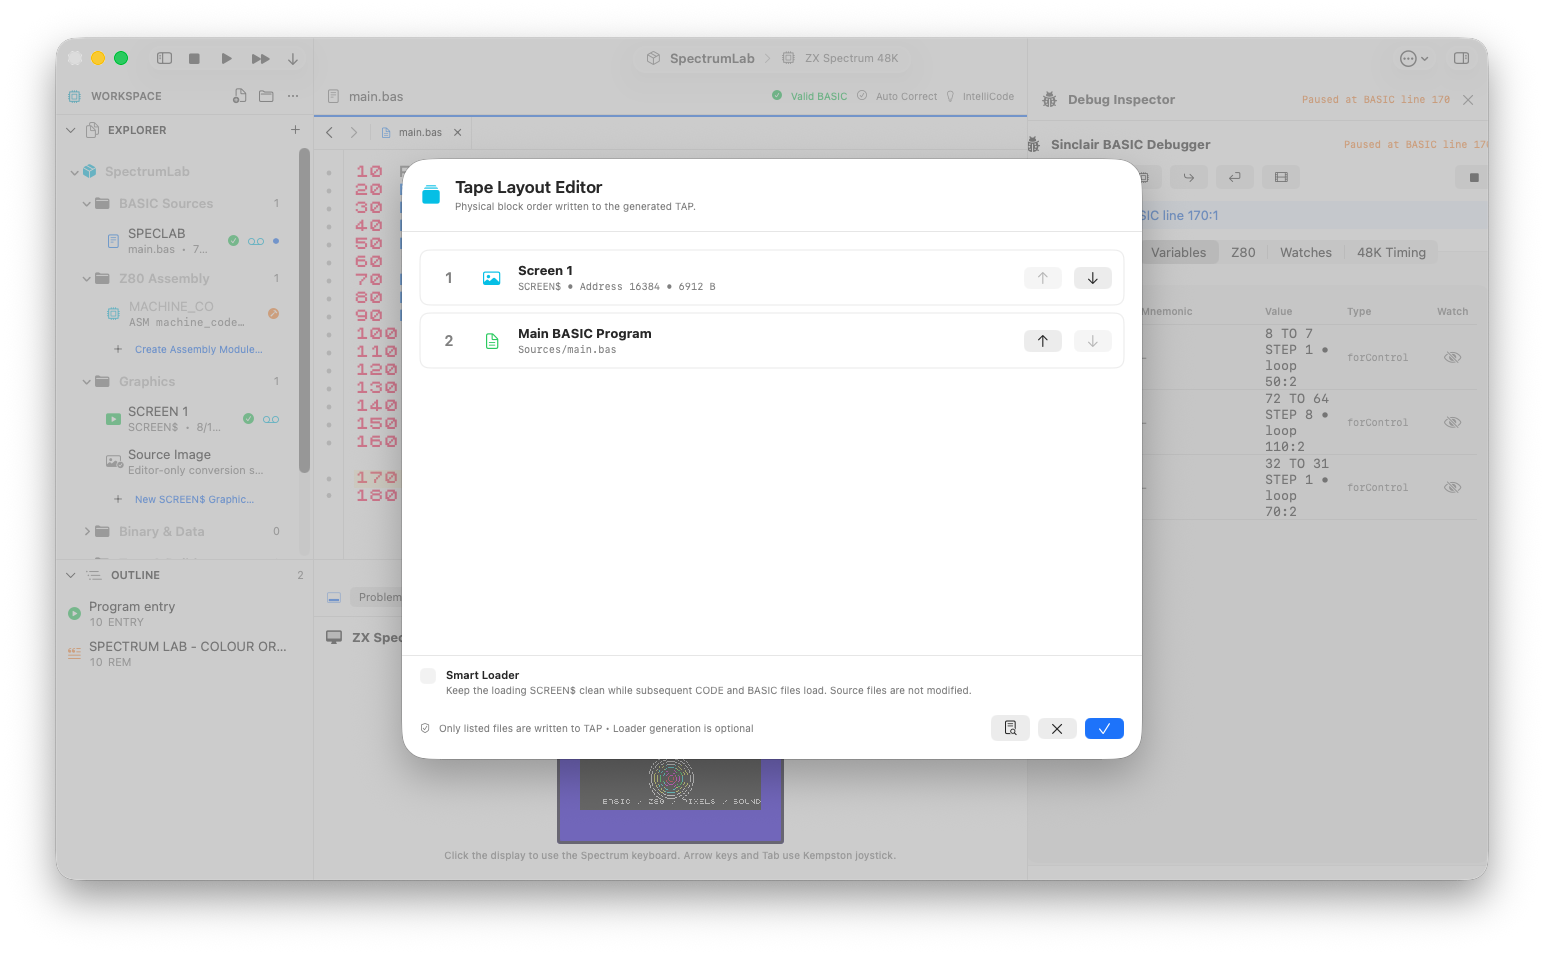
A 6912-byte loading SCREEN$ followed by the BASIC program in the Tape Layout Editor.
STEP 03
Ask for an audit of supplied facts
Paste a text summary of the actual block order and known test results. Ask for questions and missing checks rather than a release-readiness score.
Review this ZX Spectrum project release checklist; do not modify source.
Target: [actual machine].
Tape order and load addresses: [actual blocks].
Generated assets and accepted ASM: [what was refreshed].
Tests actually run: [inputs, runtime and observed outcomes].
Known limitations: [facts; label anything untested].
Find inconsistencies, missing loader/return-path checks and unsupported claims. Separate must-fix defects from optional improvements. Do not invent tests, claim hardware compatibility or certify licence rights.
STEP 04
Resolve findings in the right tool
Use the native tape/loader controls for tape order, Music Studio for composition/export problems, and Machine Code Studio for stale binaries. Use contextual AI for a justified source change. Each change invalidates some earlier evidence: rebuild and rerun the affected path.
STEP 05
Export and test the actual media
Export the generated TAP, or standard-speed WAV if needed. Load the exported file through the intended delivery route. Test start, controls, success, failure, replay and sound. If physical tape or an independent emulator matters to your release, record that result separately from the integrated run.
STEP 06
Keep the editable project
Export a project archive for backup or collaboration and check that the complete .zxproj can be reopened. Provider credentials do not travel with it. Keep concise instructions naming controls, target and real limitations alongside the distributable. Do not replace a known-good release until you have checked the candidate.
If something goes wrong
- The assistant says everything is release-ready
- Ask which supplied evidence supports each claim. Discard invented or inferred test results.
- Warnings block a build unexpectedly
- Check the selected warning policy. Default warnings are advisory, but a strict profile may promote them. Review the warning rather than disabling checks indiscriminately.
- The exported file behaves differently
- Check its build freshness and loading route first, then compare the exact target and media sequence. Keep both results as separate evidence.
READY TO MOVE ON?
Check the result, not just the response.
- The exported media comes from the reviewed current build.
- Required playthroughs are recorded, with untested cases explicit.
- The editable project and known-good candidate are preserved.