Open Graphics Studio
Create a new SCREEN$ graphic, then import the source image.
Choose the conversion
Use Fit to preserve the whole image, Crop to Fill for edge-to-edge art, or Stretch when exact aspect ratio matters less.
Inspect the real result
Judge the 256×192 preview and the 8×8 colour cells. Colour clash is a machine constraint, not a preview defect.
Add it deliberately
Choose Use as Loading Screen, then confirm the SCREEN$ block appears before the code that loads or displays it.
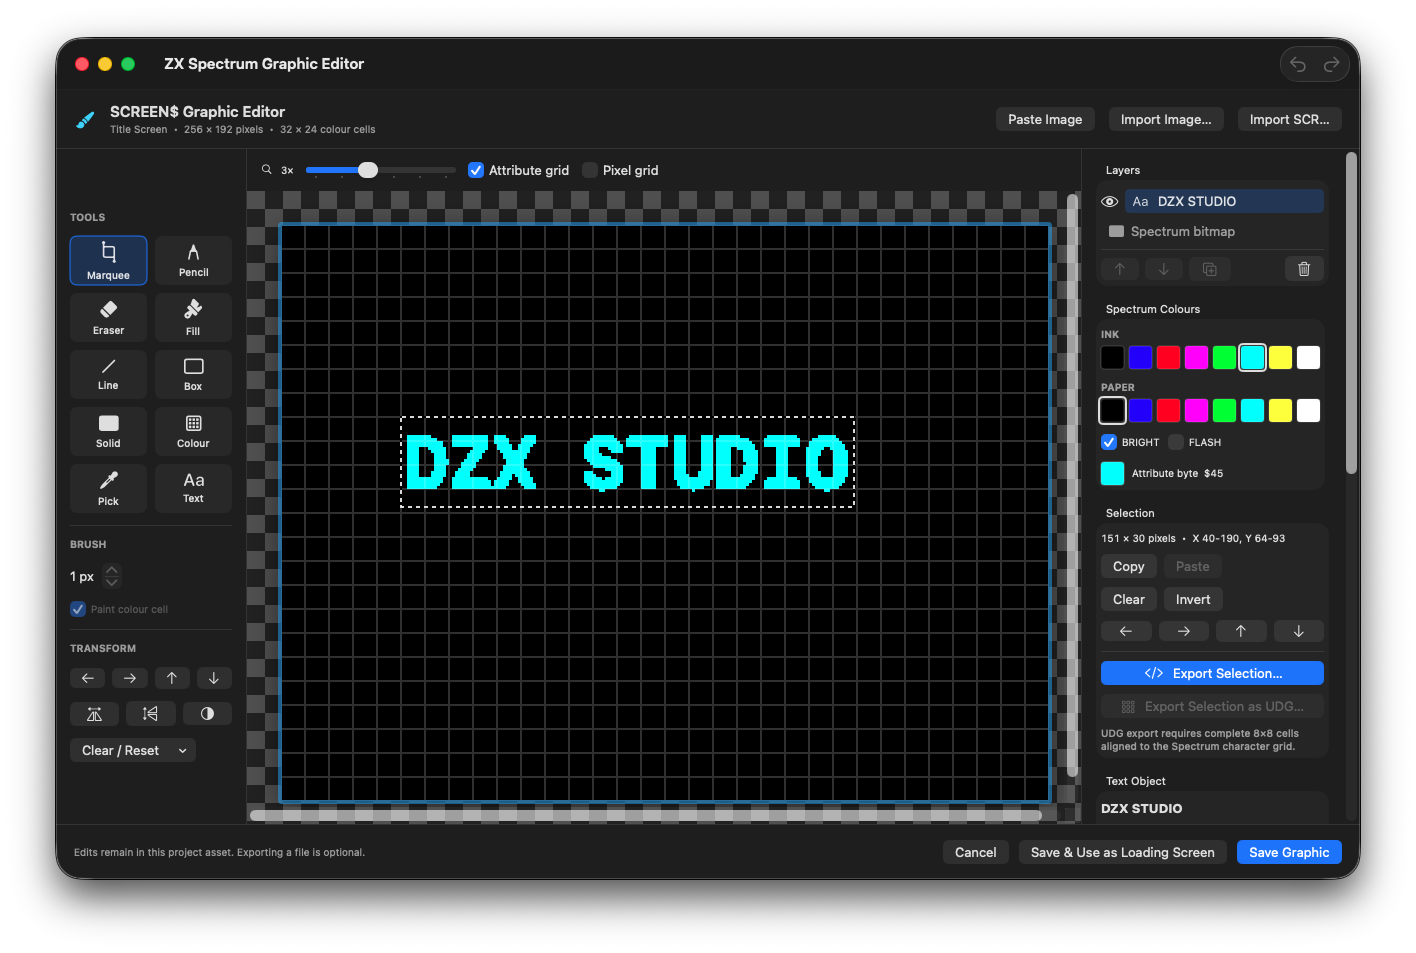
A bright-cyan DZX STUDIO text layer at X 40, Y 64. Its selection, colour palette and 8 × 8 attribute grid remain available before rasterizing.
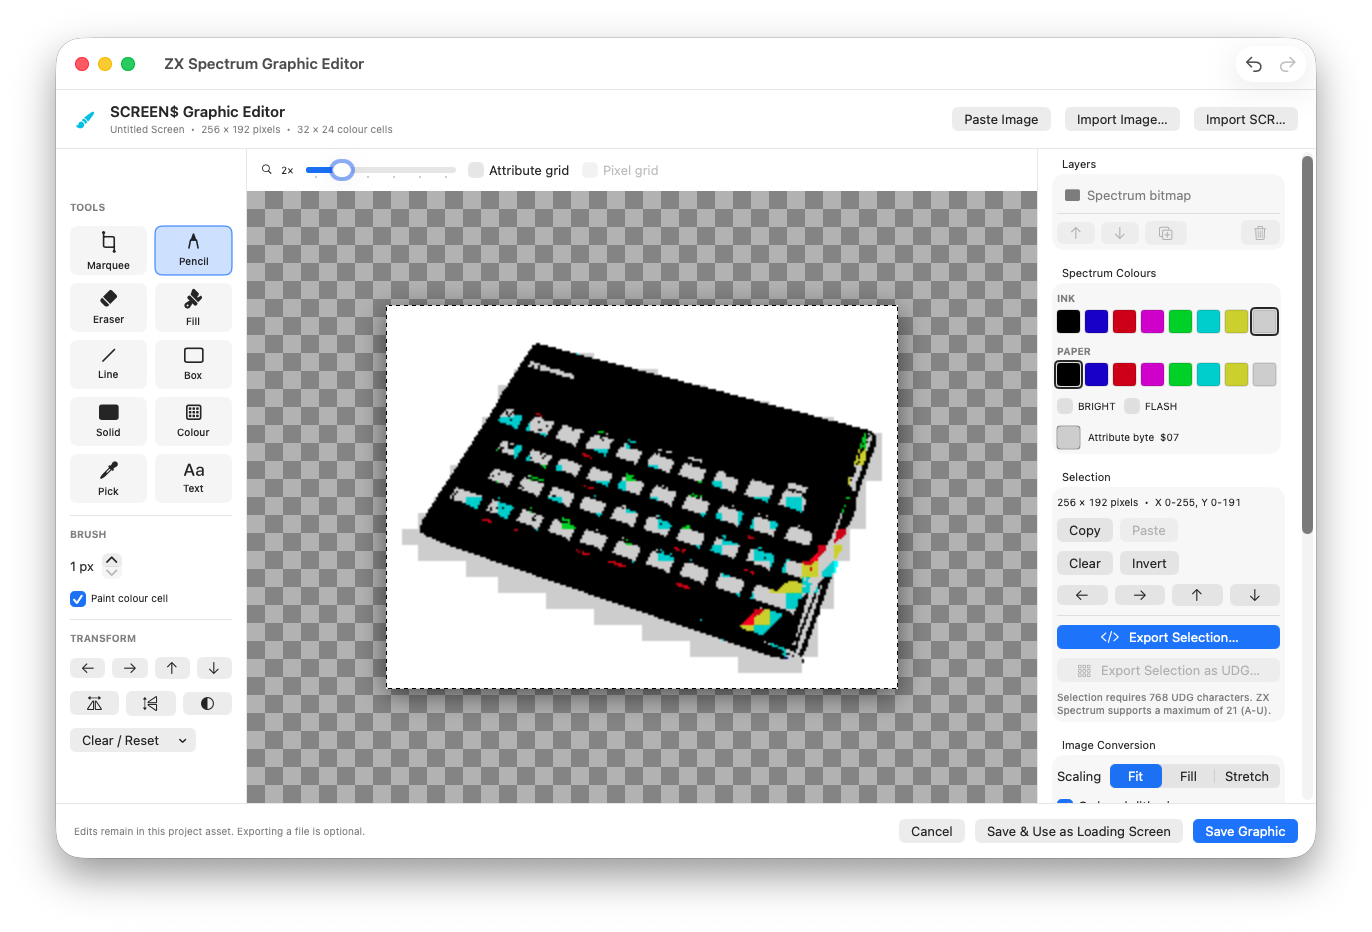
The original ZX Spectrum photograph converted to a 256 × 192 SCREEN$ in the Graphic Editor.
Photograph: Bill Bertram · CC BY-SA 2.5 · Converted to SCREEN$.
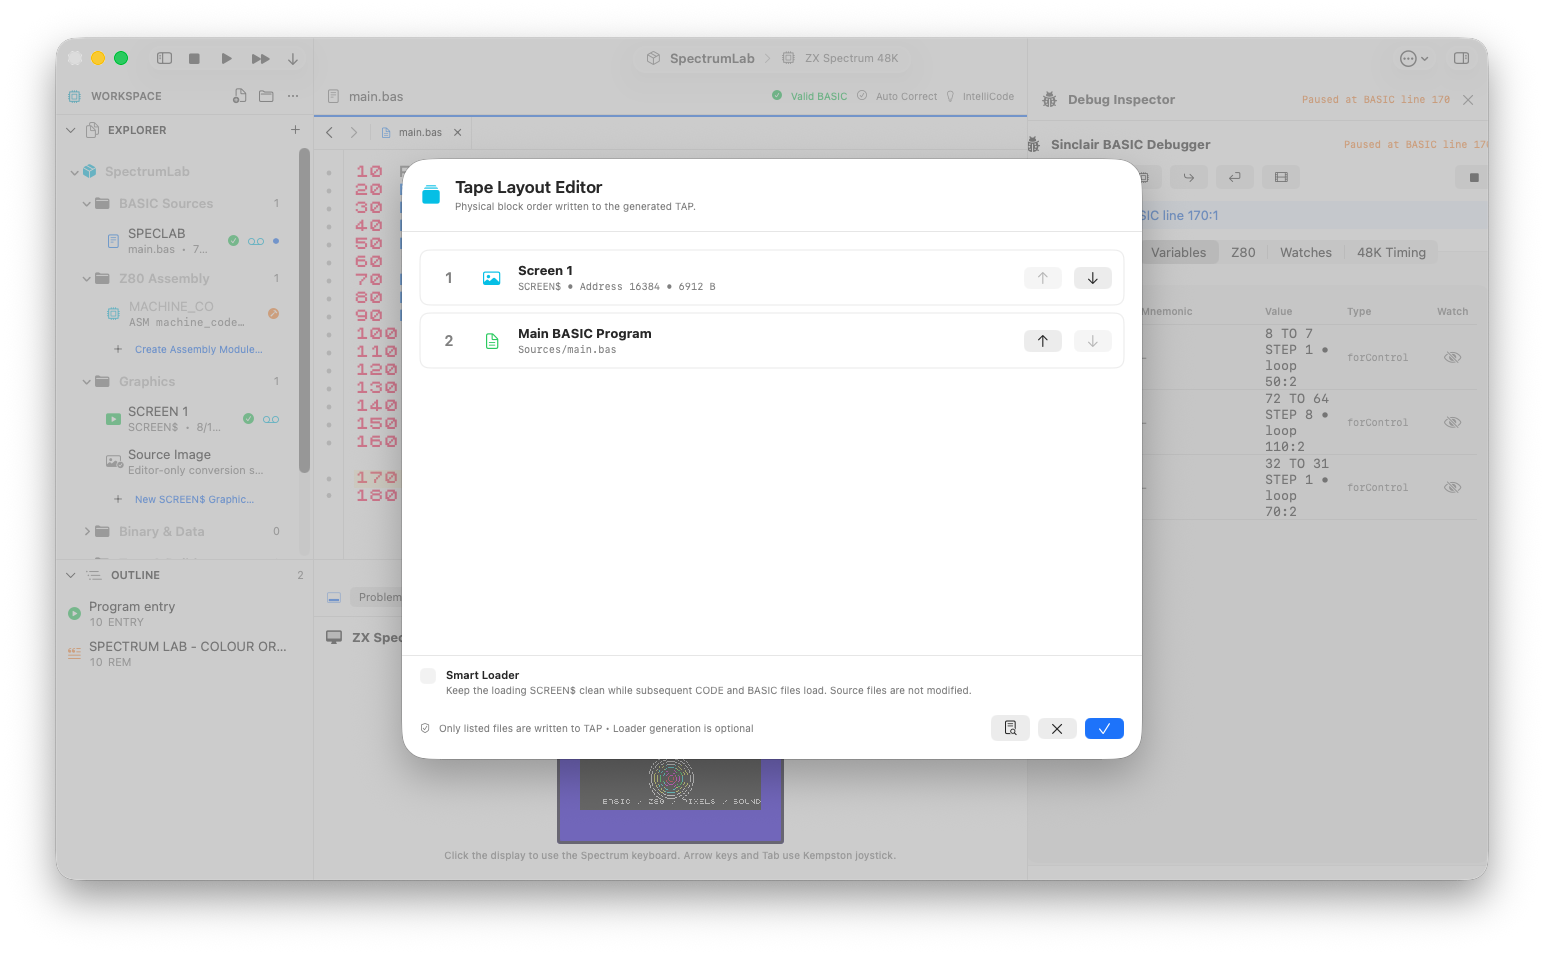
A 6912-byte loading SCREEN$ followed by the BASIC program in the Tape Layout Editor.
Convert a PNG or JPEG into the exact 6912-byte Spectrum screen format and add it to the tape.